Part of the fun of being a do-it-yourself-er is enjoying the end result. For years I’ve just used a grass ring but with now having a trainer to help bring Pete along in his dressage, a proper ring with good footing was needed.
I had planned on hiring out this whole process, but after calling 5-6 different contractors, they were all busy helping the folks along Lake Ontario due to massive beach erosion and flooding. It’s officially been the wettest spring on record. Which is good for me actually. It’ll tell me where I need to work on drainage and what kind of base to put in since I’ll never see it this wet again.
Step 1
Using a measuring wheel and flags I walked off and marked the ring. I did this step 3-4 times to verify my measurements. You know the saying measure twice, cut once. Same rule applies when you’re about to rip up a 20 x 40 Meter ring! FYI 20 x 40 meters comes out to 65 x 131 ft. I walked off 70 x 140 ft figuring room for fencing later on and area to store mounting block and cavaletties.
Step 2
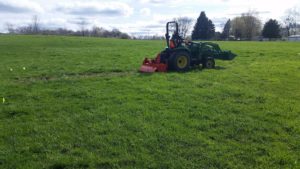
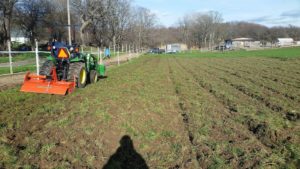
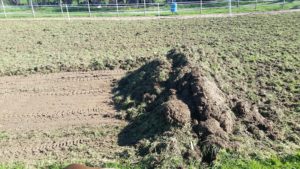
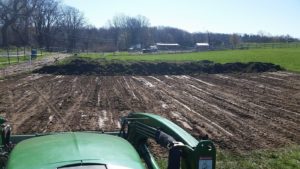
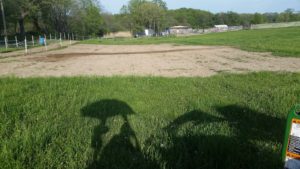
Time to say goodbye to grass. Thankfully my husband scored a PTO tiller off Craigslist last year. At the time it was just a good deal and we didn’t have a purpose for it. Well it sure came in handy for removing the sod. After that was done came the longest part of the project. Removing said sod. Mother nature continues to pour on us so it took weeks 1 bucket at at time to completely rid the field of grass.
Step 3
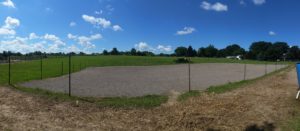
Leveling the area was the next step. That only took about 2 days a few hours each day after work moving soil around from high areas to low to even things out. I wasn’t looking for perfection. Just to take care of the lumps, bumps and steep hilly areas. The end still has a slight ‘U’ shape to it and incline on the long side. Thankfully, Mother Nature once again decided to deposit about 5″of rain on the area to show me that my base surprisingly drains amazingly well. WOOT, I won’t have to spend $ on drainage or a gravel base. If you’re not so lucky, then you’ll want to make sure you have a way of diverting run off into channels away from your ring and put down at least a 2″ base of #2 crusher run and compact it with a vibrating roller. This is why I thought I’d have to contract this project out in the first place.
Step 4
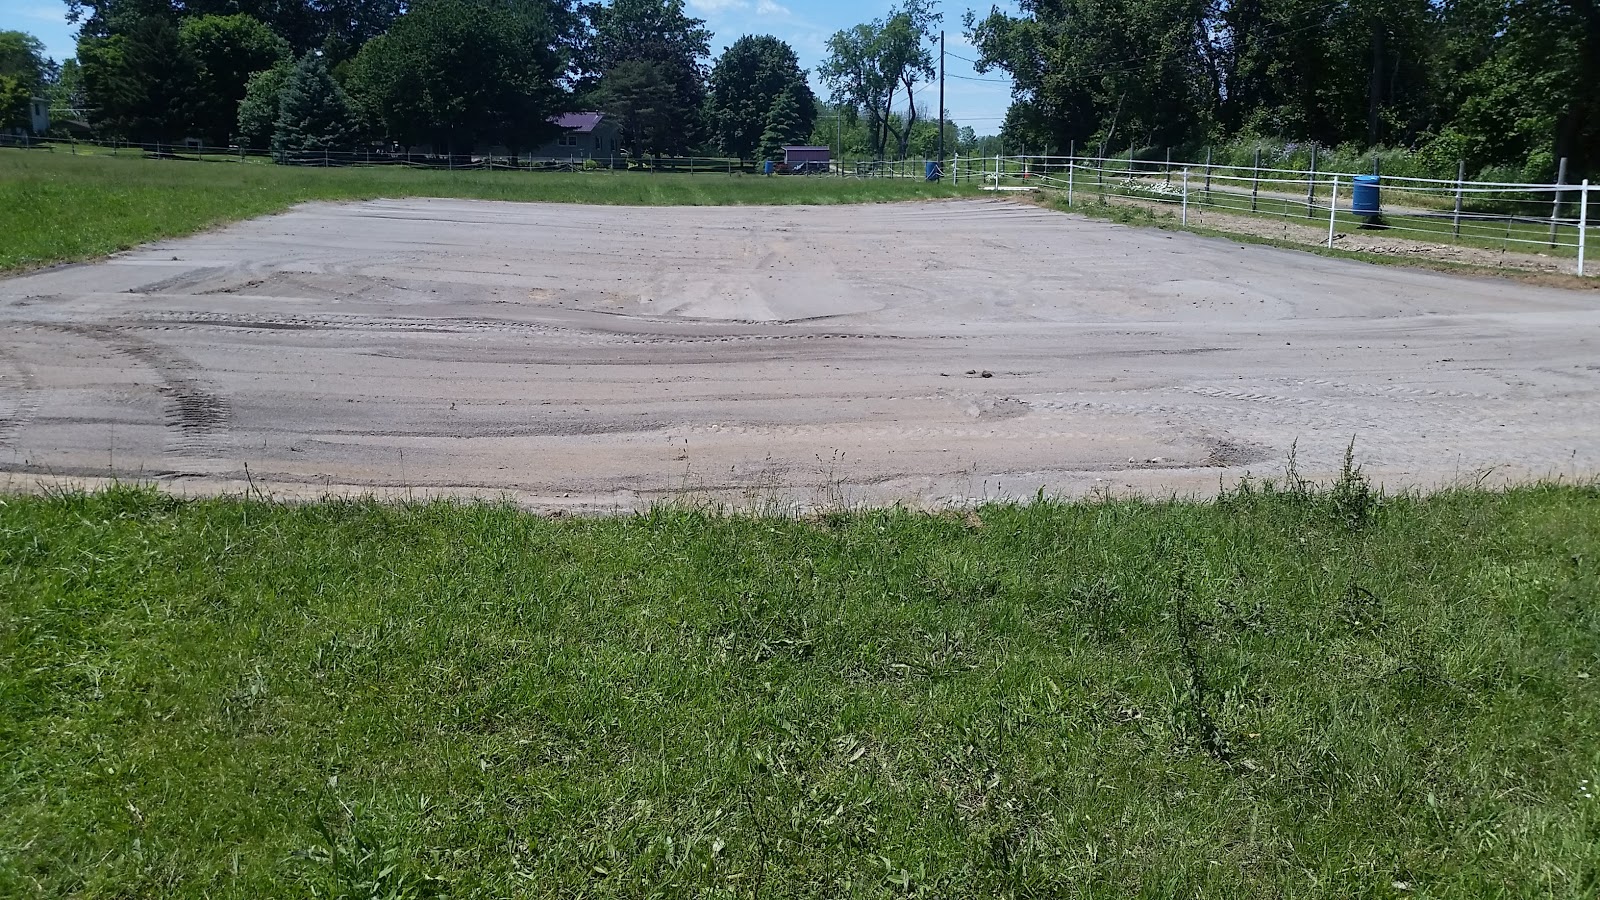
Footing! At the time of writing this a load of road sand delivered costs about $450. Since I also needed gravel for my driveway, I could only afford 1 load but, it covered the base about 1/2″ thick. I think I”ll need at minimum ` more load and possibly 2 to finish the project but this part is easy. From the time they drop the load of sand in the ring to when I spread it all out with the tractor only took about 90 minutes. I dragged the ring a few times and even with 1 load of sand, it still looks good. Just needs a little more for cushioning. This type of sand is good for a 3 season ring.
Step 5
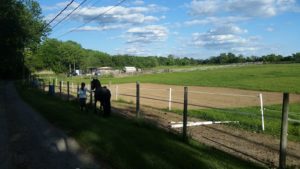
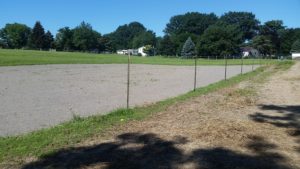
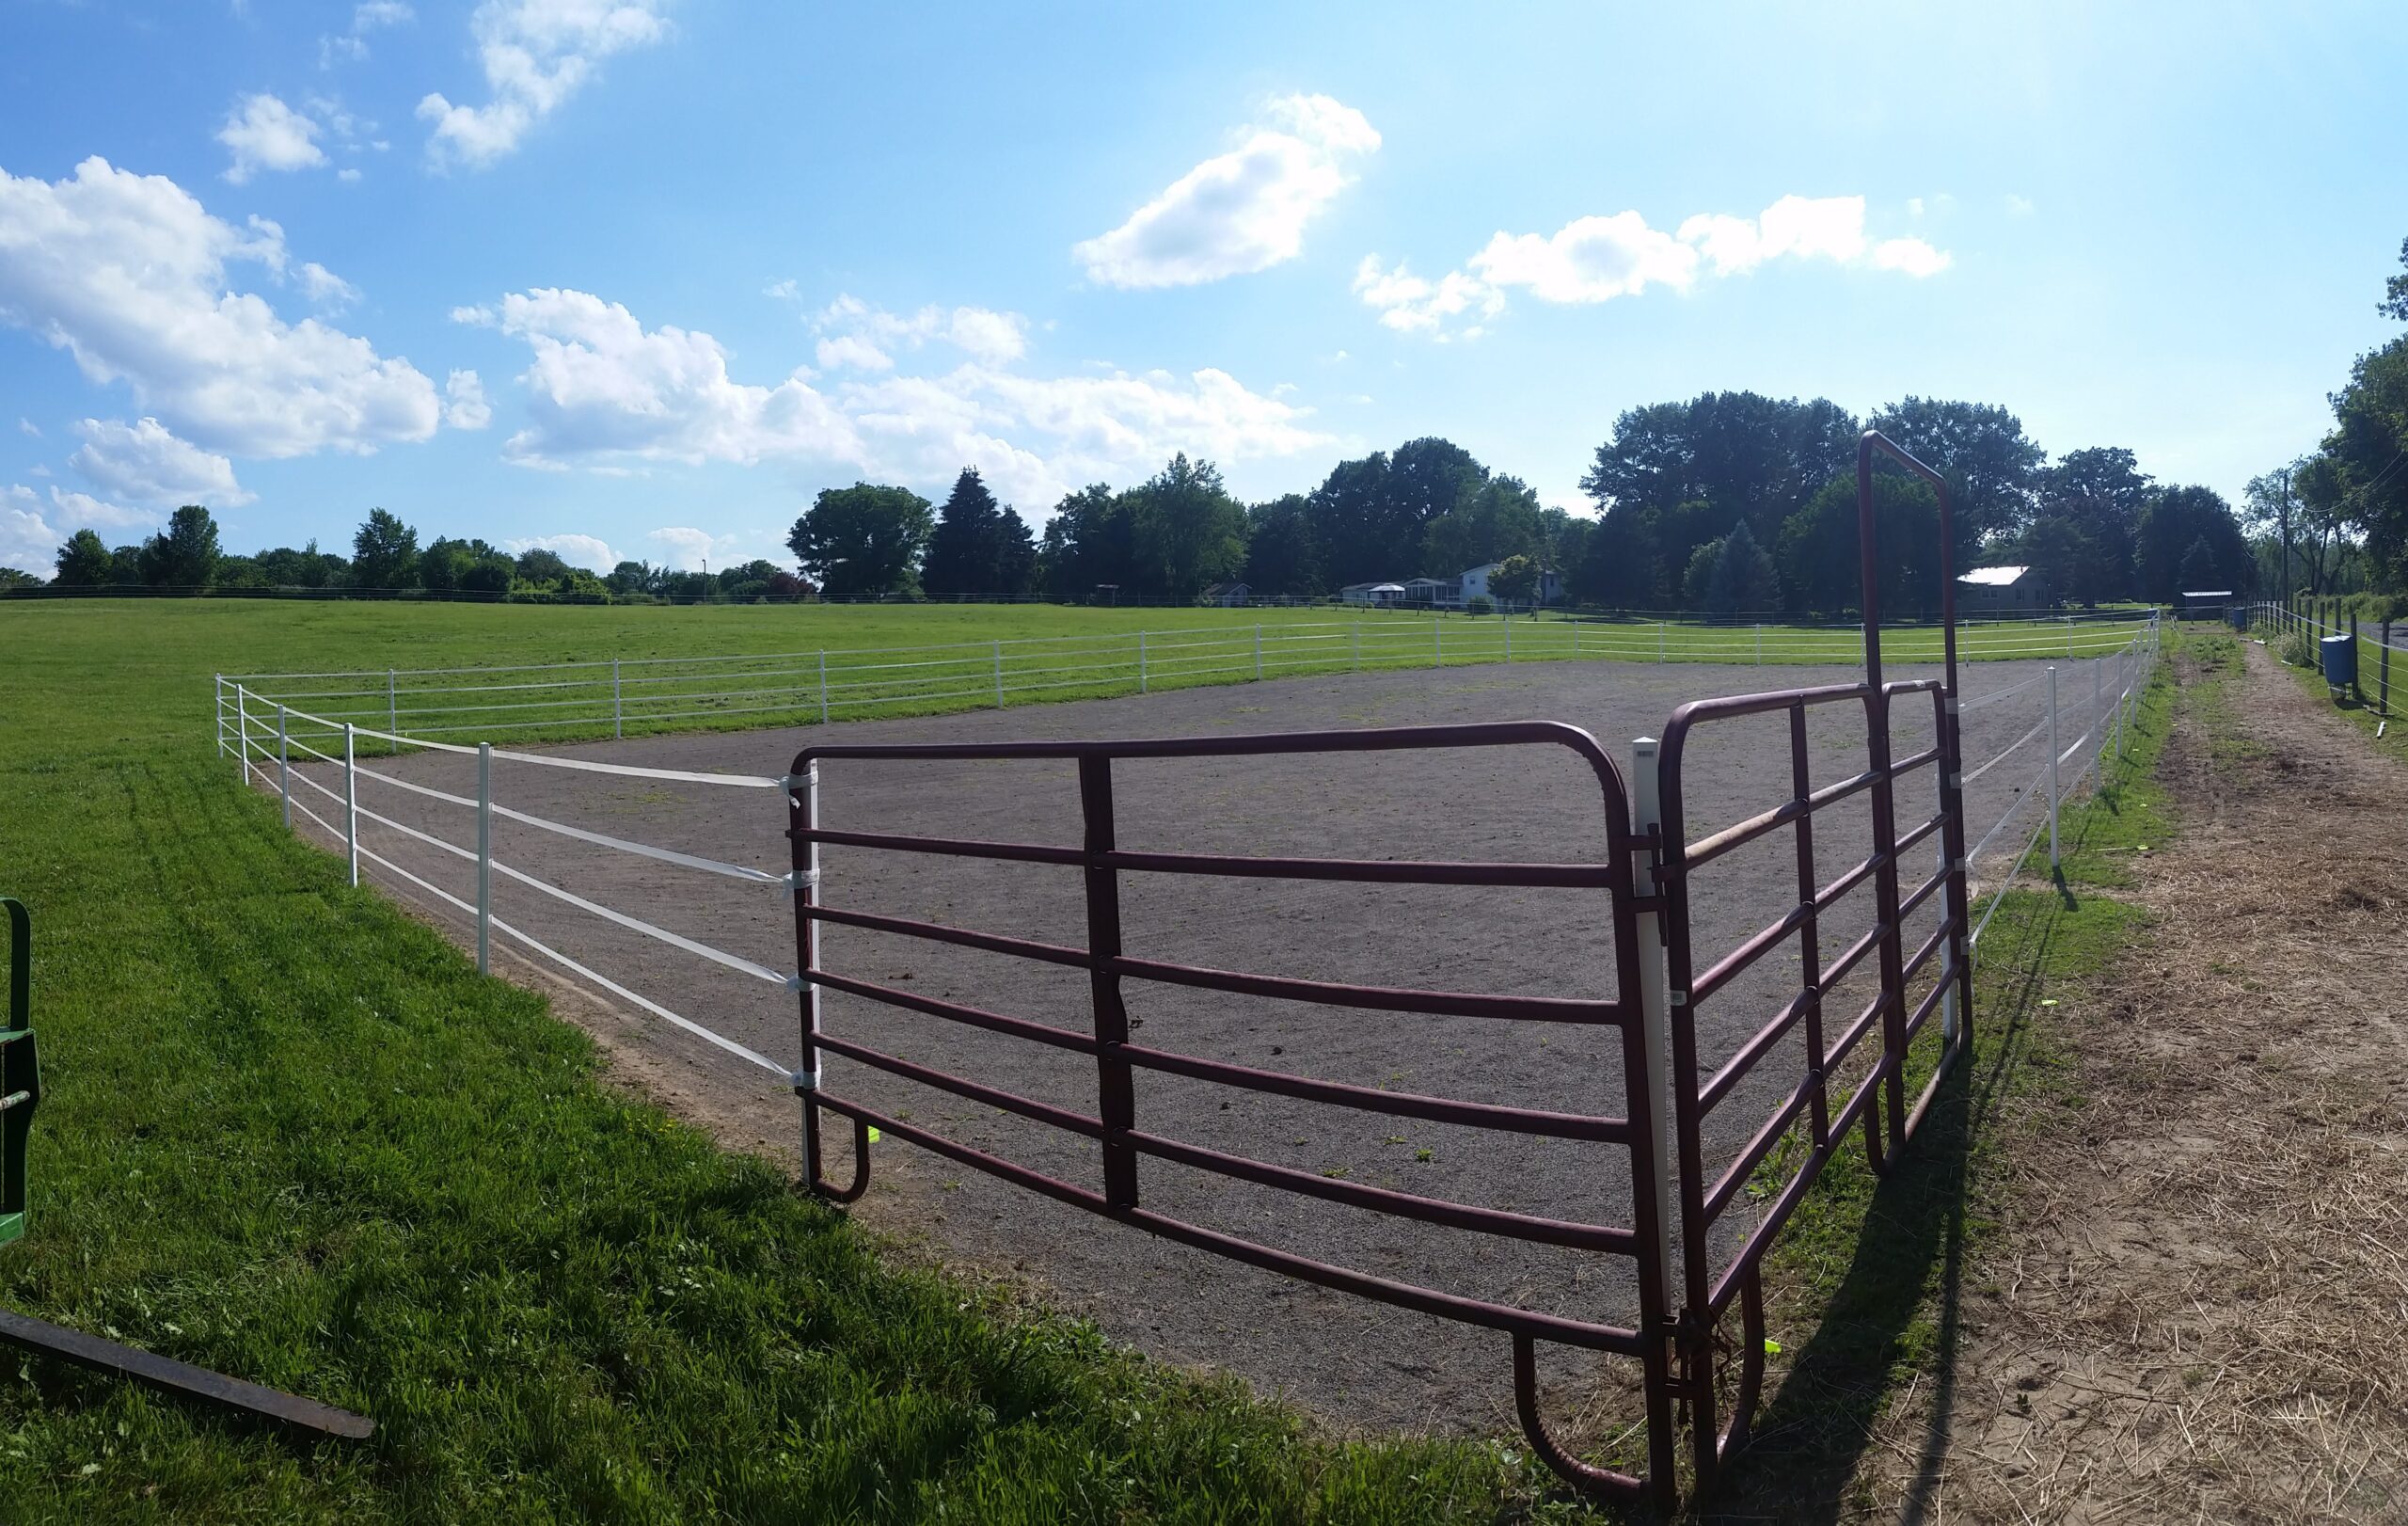
Fencing was the last thing to add. I called around and got a quote for $4,000 to put a fence around my arena. Ummm… I can’t even afford another load of sand right now thanks to hay season, so that was out of the budget. Goal, fence for under $500. Actual cost $458! I had JUST enough T-posts in the barn for the 32 needed to get around the ring as well as the 10′ panels and gate that I’d use for easy access for humans, horses and tractors. All that I needed was to make it pretty, and safe. In comes Safe-Fence products. They make a nice vinyl t-post sleeve that fit over the post, sturdy insulators and a nicer electric tape product than Tractor Supply. I opted for 4 strands for a few reason. #1 it looks pretty, #2 more of a visual barrier to foals and yearlings who tend to bounce off fences, and #3 It was on sale and I could get (2) 1350′ rolls for almost half price. It’s a little over 400′ around the fence so 2 rolls was perfect fit. FYI finished dimension are 69 x 137 feet. Guess there was some shrinkage
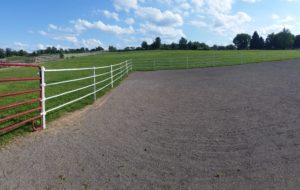
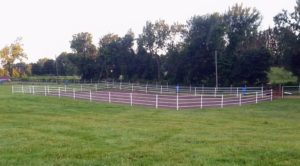
Finished product in the last photos. I’m very pleased with how things went. The only change I wish I could have done is use wooden posts in the corners. But, if I was going to bother putting the auger on the tractor for 4 silly posts I might as well have done all wood posts. That part is a 2 man job and I’m only 1 person so…..t-posts and sleeves it was. And it sure looks good if I do say so myself. At this moment is is NOT electric. Though I might opt to put some juice on it if horses that are turned out don’t leave it alone. Of course electric would be turned off when using the ring.
I can’t wait to start using this arena. Finally someplace I can train without the distraction of lush tasty grass under foot.
Products I used to make this
T-Post – https://amzn.to/2Dpwgao
T-Post Sleeve – https://amzn.to/2Dpwgao
Insulators – https://amzn.to/2Dpwgao
Electric Fence Tape – https://amzn.to/2PkneQA

