Human vs. Alpaca Round 1


This past Sunday evening we decided to give the alpacas their monthly Ivermec shot and to trim toenails. Monthly shots are hardly exciting anymore and usually none of the alpacas put up much of a fight. Clipping toenails turned out to be a totally different story.

It turns out alpacas are fully aware of the 80/20 rule. 80% of your problems will come from 20% of your alpacas. I seriously think alpacas can count and do math. 1 out of 5 girls is 20% after all.

We saved the hard ones for last with the false hope that maybe they’ll watch the others and get the idea that no one was being killed. The others did such a good job and stood quietly as I picked up each foot and clipped the long nails off, I was really feeling hopeful. That was until we went to catch the last one.

Giving the shot wasn’t a problem at all and went smoothly. I slowly worked my hand down from the neck to her legs and the first explosion went off. Did you know that alpacas when standing on their hind legs are WAY taller than my 6’2” frame? Thankfully M was with me and the 2 of us got her under control, or so we thought. First it always starts with the spitting but in our case it was more like dodging grape shot. M had been keeping her occupied by feeding her hay stretcher and each time she spat the chunks of stretcher would fly out of her mouth like bird shot. Potentially hazardous, but thankfully no match for Carharts.

M finally got her in a good hold and I managed to clip the first foot and she then went into full wrestling mode with M. After a short tiff, the position I found both alpaca and husband was quite peculiar. M was straddling her, heck stuck out between his legs like a large knight mounted on a really small and fuzzy horse. M seemed as confused as the alpaca on how they ended up that way but she seemed to be comfortable and was still standing. So, I took quick advantage of the situation and managed to trim the other 3 legs.

Mission accomplished M dismounted his trusty steed. His mount seemed to have forgotten the whole event and immediately went back to sniffing out our hands and pockets for treats.
I’m not quite sure how to award this round so I’m going to consider it a tie.
Fiber Arts Friday

It’s Fiber Arts Friday and to honest I really haven’t had the time to do much fibery stuff as of late.  I’ve been caring for a very sick puppy, a very pregnant horse, and attempting to keep the alpacas clean and relatively mud free now that spring has decided to show up.

Speaking of keeping fiber clean I have been doing some work with all the fiber I washed a few weeks back.  I’ve slowly been hand carding it into semi-worsted rollags in prep to spin it into strands for more mecate.  I can see myself wanting a electric drum carder and a spinning wheel really soon to make these steps go faster.  Good timing on Wonder Why Gal’s post on drum carders for FAF.

Last week I did make 2 new mecates and a dog leash I can share with you.  I guess that’s all for now, hopefully I’ll have something a little more exciting next week.

Dealing With Spring Thaw & Snow Melt

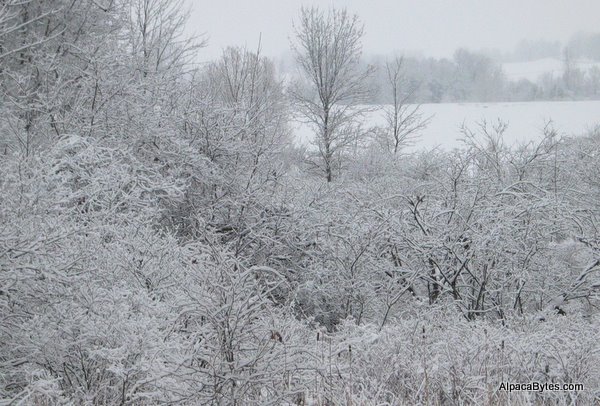
Ah yes its March.  What a beautiful time of year, days are getting warmer, birds are singing and the snow is melting into rivers and lakes flooding the interior of my barn.  *sigh*

We purchased a 30+ year old farm and barn which was made as quickly and as cheaply as possible.  In other words neither proper location nor foundation was ever considered when erecting the 35’x75’ barn.  Instead the barn sits at the bottom of the hill with no excavating or site prep.  With rain or snow melt the 5 acres of pasture uphill from the barn has its entire run off focused straight towards the barn.  I’ve done my best over the years to elevate the stall floors by 4-6 inches and dig trenches to divert water flow around the barn but it’s still a losing battle.

Instead, with snow pack higher than the floors of my barn the melt still flows right inside and through the barn.  I’ve become accustom to this barn flooding season and know where to store items to allow the water to run through the barn and out the back side. 

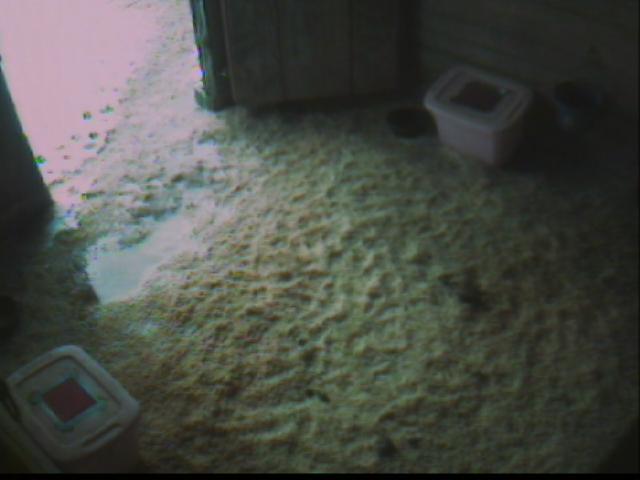
It is still disheartening when I just put down expensive fresh bedding in a stall just to check the barn camera’s 4 hours later to see a reflective lake shining back at me.  All I can do is hope that the snow melts fast and leaves little damage in its wake.

Moral of this story: When building a barn make sure it’s on high ground and has good drainage.  Also take into account snow pack being higher than the barn floor and have all run-in areas slope down and away from the barn.

Flooded Barn

How to make a Recycled Baling Twine Rug

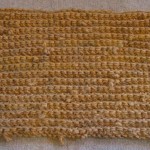
I mentioned in an earlier post that I recycle the twine that comes off my hay bales.  I really try not to cut the twine when freeing a bale and if I have to I make a conscious effort to cut it next to the knot.  This way I have a length of twine that is the most usable.  With most of my hay used up I have a healthy pile of twine ready for repurposing.  This time it went into a rug.


TwineRug1
Recycled Twine Door Mat
 

TwineRug2
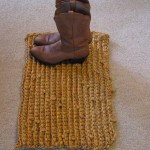
Great for scrubbing dirt off your boots
Materials:
Size ‘P’ crochet hook
Baling Twine – approximately 100 bales worth for a 3×2 foot mat
Scissors
Grocery bag
Muscle power!

Preparing the Twine

Step 1:
Twine around bales have knots in them.  You want to cut these knots off and toss them in your grocery bag.  Jute twine is a nice fire starter so I keep mine to get a camp fire going in the summer.

Step 2:
Knot each strand to another to form a long jute rope.  Make sure the knots are nice and tight and trim any extra twine hanging out on the off side of the knot.  Yes, I save this too for fire starter

Crochet Pattern

Row 1:  All SC – This row will be the Length of your rug – Add one extra SC and turn
Row 2: Into backs only! SC all the way add one and turn
Row 3-?: Repeat Row 2 until desired width of rug is achieved

By crocheting into backs only this creates a ribbed pattern which helps with 2 things.  It gives your knots a place to hang out and creates ridges so you can scrub the mud and dirt off your barn boots.

Though the pattern is very simple I would have to say this is an intermediate project for one reason.  Twine is a P.I.T.A. to work with!  It’s not flexible, carries a twist and every 6 feet you have a knot to deal with.  When you’re finished with your rug, your hook arm will be very very tired.

If you’re part of the Fiber Arts Friday crowd check out Wonder Why Gal for more cool projects.