Homemade Drop Spindle


I’m a geek by trade so when it comes time to build things like a drop spindle I dig around in my miscellaneous drawer to find items that might work.   I read a lot online on how to make your own drop spindles but they all involved drills and going to the store and buying stuff.   In the end I figured what the heck I’ll just buy a few drop spindles but impatience got the best of me,  I wanted one now and didn’t want to wait.

So, I present to you the 21st century Geek Spindle!  I bet Bill Gates never thought his Windows 98 SE CD’s would be used like this.  

Materials:
1. Dowel – rummaged in the barn and found one – Cut to 15”
2. Electrical Tape – Ok what person doesn’t have a roll or 5 of this hanging around the house?
3. (5) CD’s:  I have boxes of useless CDs of old software, drivers, etc.  5 seemed to be a good weight
4. Small hook – Had several in the junk drawer

The dowel fit nicely through the hole of the CD. I taped above and below it to make sure it didn’t slide or rotate.  I screwed the hook to the short side of dowel and piled up some tape at the edge of the CDs to make a “Groove” for the spun fiber to rest.

Voila! Geek Spindle! Sorry for the poor photo quality, I took them with my cell phone at work.


The roving I’m using is from my Reserve Color Champion black alpaca.  I have 10lbs available anyone is interested email me.

I usually post my fiber projects on Monday’s but remember to check out Alpaca Farm Girl’s Fiber Arts Fridays!

==========================
Update 7/8/09
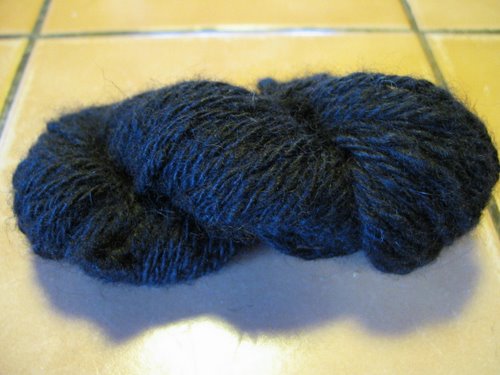
Finsihed my first skein of yarn. 157 feet long 3 ply.

How To Dye Alpaca Fiber with Kool-Aid


Probably the easiest, cheapest and least harmful way to dye alpaca fiber is with Kool-aid.  Where else can you get a rainbow of colors for $0.25 a pack!

Solid Color Dye:

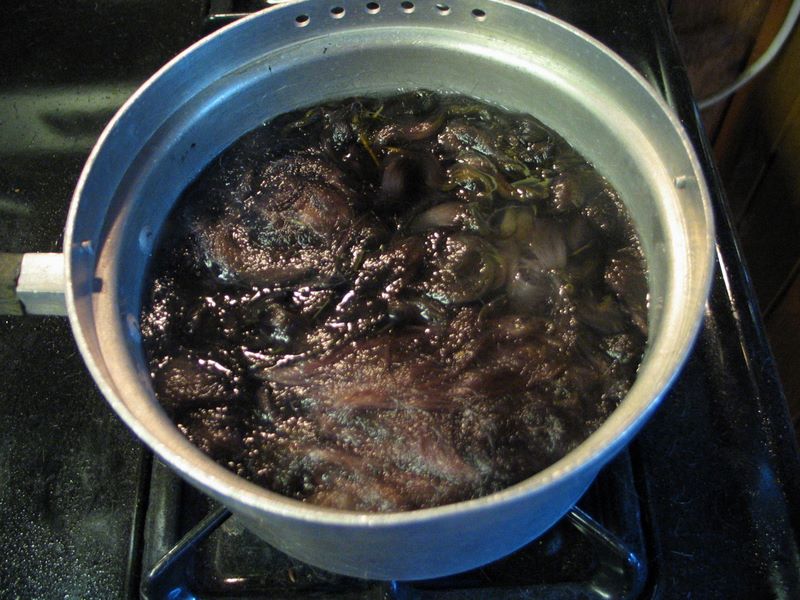
1.       Heat a pan of water so that you see steam rising but not so hot it’s boiling

2.       Add your Kool-aid  and stir

a.       The more packets you add the darker the color.  Mix and match kool-aid packet colors and make your own!

3.       Put in your fiber and push down with tongs until fiber is fully submerged

4.       Let simmer for 30 minutes or until water is clear.

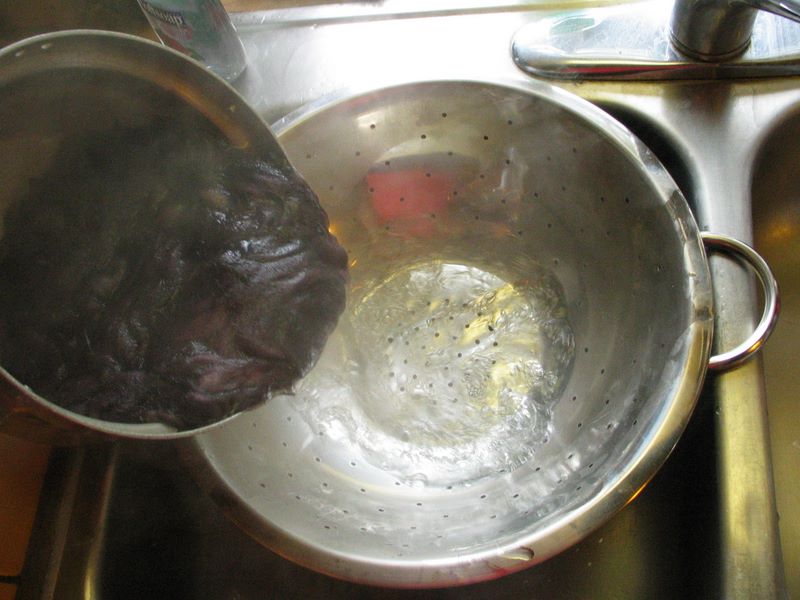
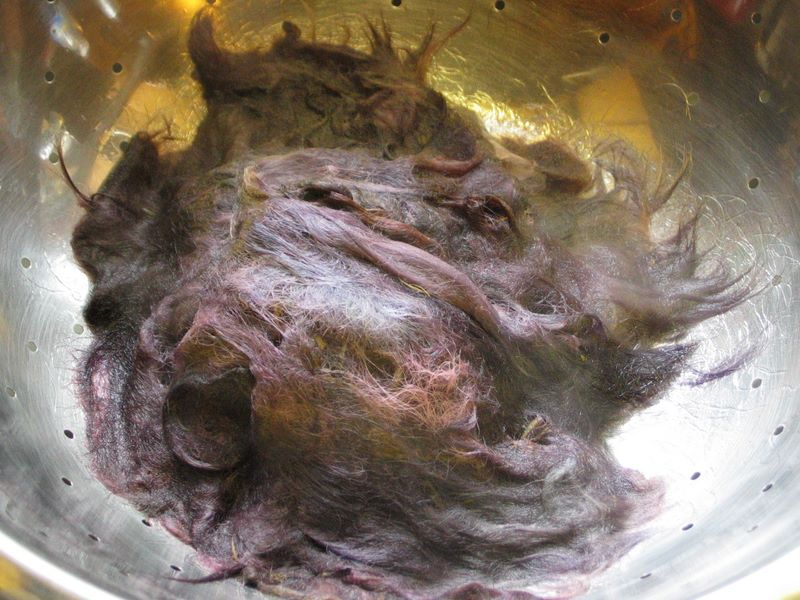
5.       Pour your fiber and water into a colander to drain out the water. Use your tongs to press out extra water but be sure not to agitate the fiber or it will felt. (Note the water that I’m pouring out in the photo is clear)


6.       I dry my fiber on cookie racks next to my dehumidifier in the basement.  You can also use sweater racks or set it out to dry in the sun on a lawn chair or towels

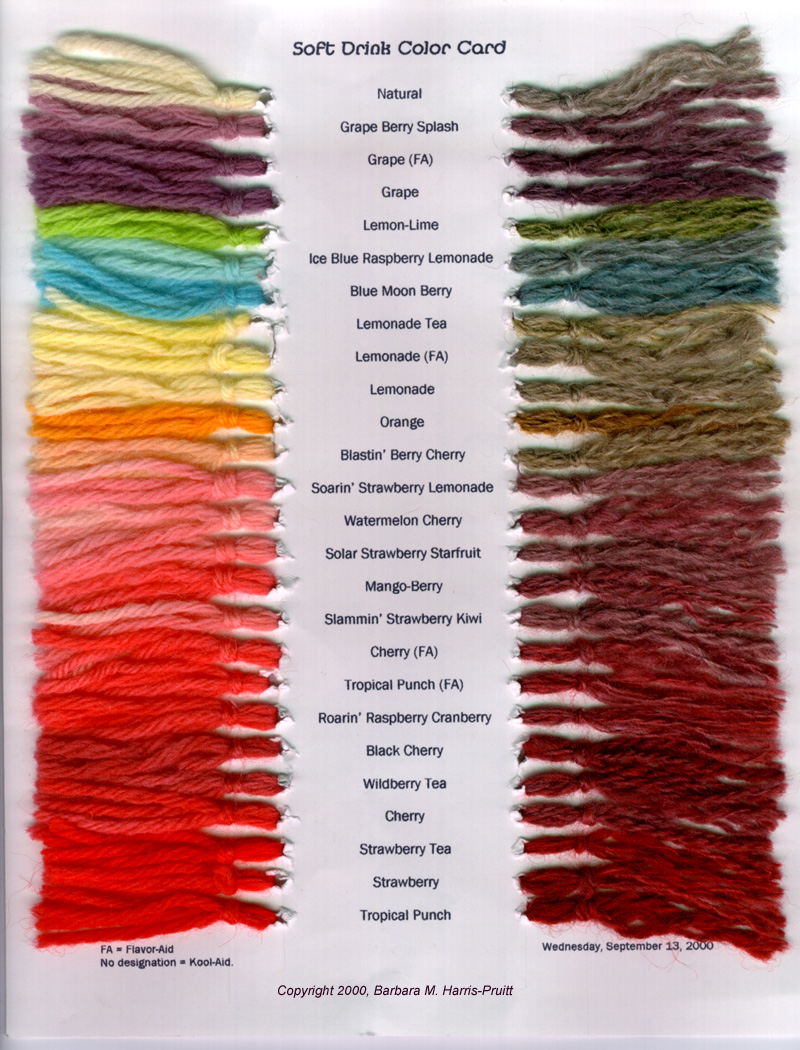
Kool-Aid Dye Color Chart!
Click on color chart for larger image.  Props out to http://www.thepiper.com/ for this great color chart!

colorchart-max

How To Wash Alpaca Fiber / Fleece

The biggest concern with novice fiber workers is accidentally felting the beautiful fleece they just got. Not to worry, washing fiber isn’t as scary as it sounds. You just need to remember one thing. DO NOT AGITATE. To felt fiber you need 3 things, hot water, soap and agitation. If you neglect to agitate you won’t felt!

Here’s how I wash my fiber.

1.  Skirt 1 pound of fiber you plan on washing. Get rid of poop and large vegetable mater
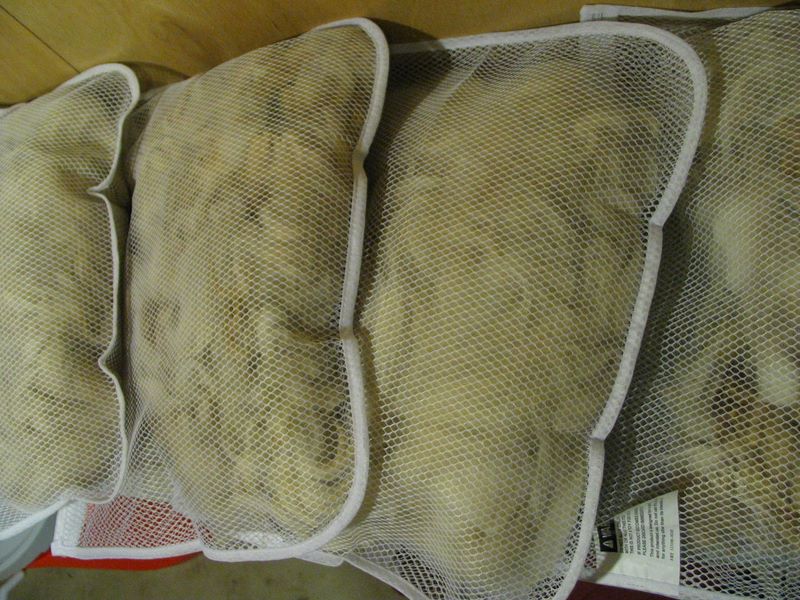
2.  Loosely put ¼ of a pound into a lingerie bag 15”x18” – If you over stuff the bag, the center of the fiber won’t get clean. Repeat for 3 other bags.
Alpaca Fiber In Bags
3.  Fill up your washing machine with HOT water.
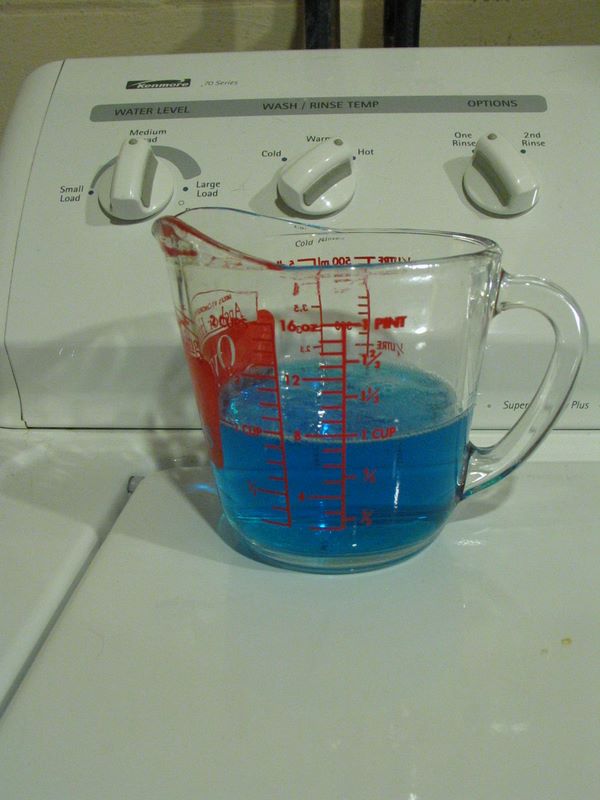
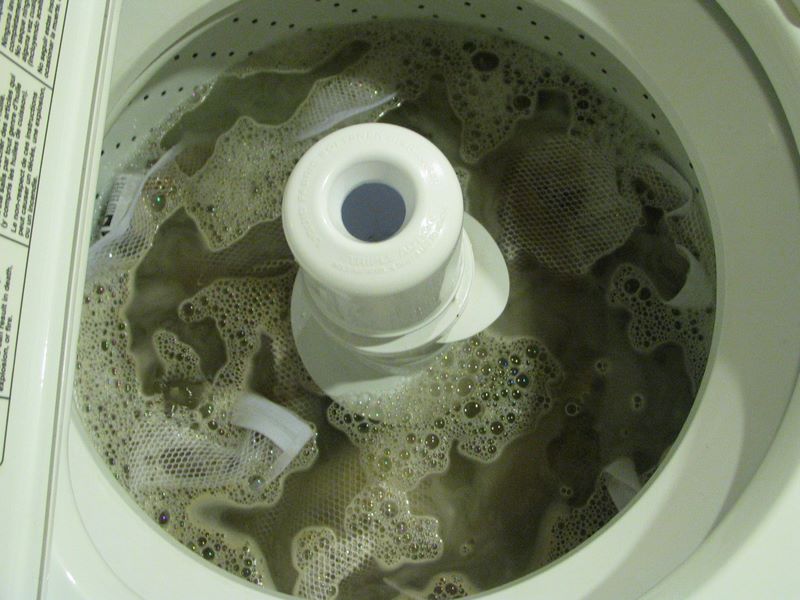
4.  Once the machine is full add in 1 cup of Dawn Original Dish Soap. Stir the water to evenly mix in the soap but not so hard it makes suds. TURN OFF YOUR WASHER!!!

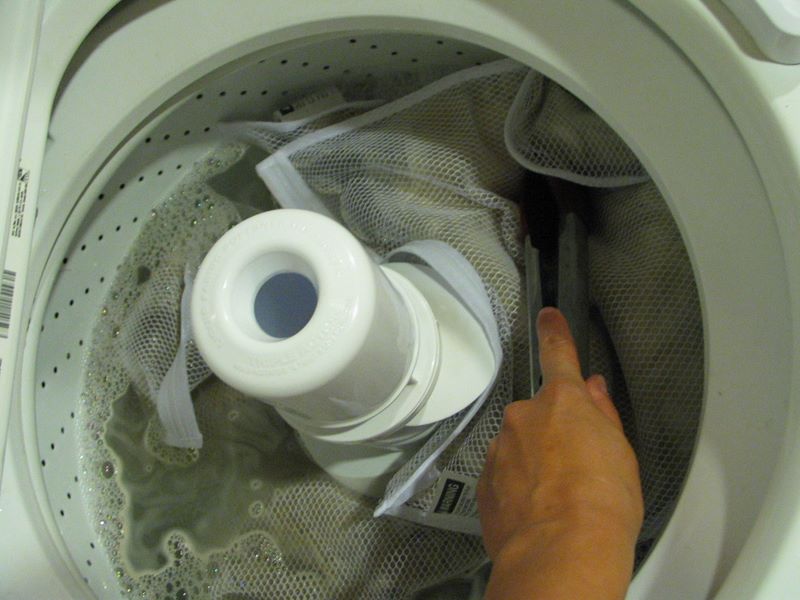
5.  Place a bag into the water, use tongs to push the bag under 2-3 times until you see/feel the fiber loosen up in the bag and it is fully soaked. Repeat with your other 3 bags.

6.  Yup, the water is already dirty, ewww. Make sure your washer is OFF and close the lid. Let your fiber soak for 30 minutes.

7.  Remove the bags and let the water drain from them and set aside. Turn on your washer and have it drain the water out.
8.  Fill your washer with WARM water this time and NO soap. TURN OFF WASHER when full.
9.  Put in your first fiber bag into the warm water. I use my hands this time to submerge the bag and fluff up the fiber in it until it’s loose in the bag. Repeat for the 3 remaining bags
10.  Let sit for 30 minutes
11.  Repeat steps 7-9 until the rinse water is clear after 30 minutes.
12.  When your rinse water is finally clear, remove the bags and let drain for the last time. Turn on the washer and drain the water again.
13.  Place bags evenly in the empty washer.
14.  Put your washer on the SPIN cycle and turn on so it will squeeze the rest of the water out of your fiber.

Drying Your Washed Fiber:

There are several ways to dry your fiber. It all depends on what you have available to you. I’ve seen some folks lay the fiber out on a chair on their deck and let Mother Nature do her work. Sweater racks also work well.

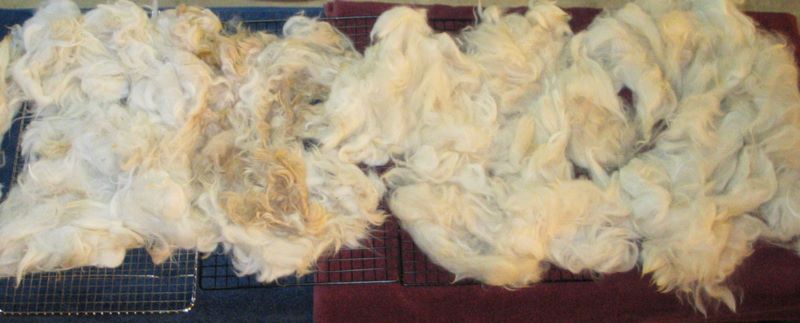
I accidentally found a great way for me to dry my fiber when Mother Nature wasn’t cooperating. Rain and high humidity makes for slow fiber drying. So I laid out my fiber on an old coffee table covered in towels in my basement. I don’t have a sweater rack have plenty of cookie racks so I used those to get a little lift so air could flow under the fiber. I placed the table next to the dehumidifier and by the next morning it was dry!

Now that you have clean fiber let’s see what you’ve done with it at Fiber Arts Friday’s!