How To Warp A Mini Loom


Card weaving is really fun, easy and portable.  Depending on the design you are doing the work can move very quickly.  The hardest part about card weaving is warping your loom.  Here is a short video I’ve made on how to warp the Palmer Loom I use for many of my projects.

In this video I’m using all one color because the end product is for the show halter I’m working on.  In future series I will be using multiple colors to show you how you can make designs and patters in your weave. 

Special Charity Fiber Arts Friday.  Please Visit Alpaca Farm Girl
Palmer Looms

Custom Show Halter


I’ve probably mentioned it before but my first love has been horses.  I’ve been in love with them since I was 2.  So when I found the alpaca I’ve been thinking of how I can incorporate their fiber with my first passion.

I’ve been braiding custom reins for customers for quite a while which brought me my newest project; a custom show halter for a Moriesian ready in time for her inspection later this year.  This request introduced me to a new method of working with alpaca fiber, card weaving.  Also known as tablet weaving this method involves the use of cards with 4 holes punched in each corner.  Depending on how you manipulate the cards you can create intricate patterns. I’ll get into more about card weaving and how to warp a loom and simple patterns in another post series.

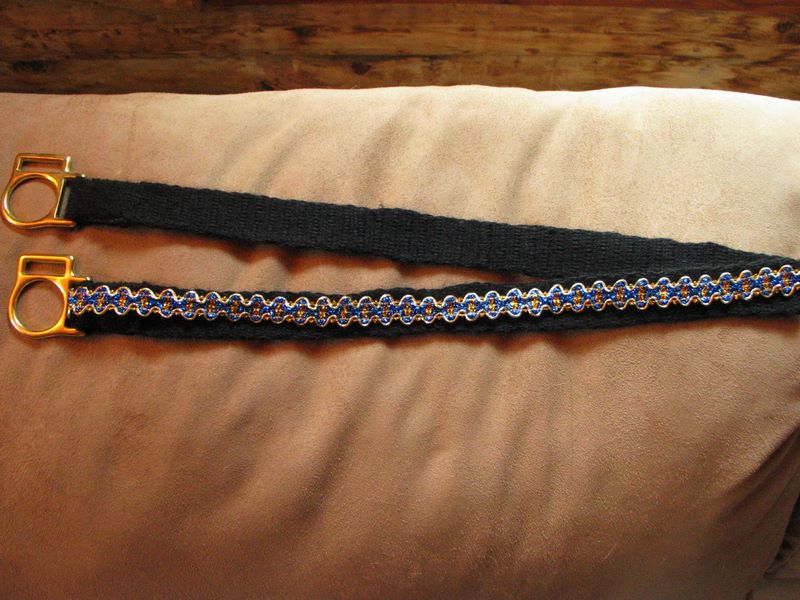
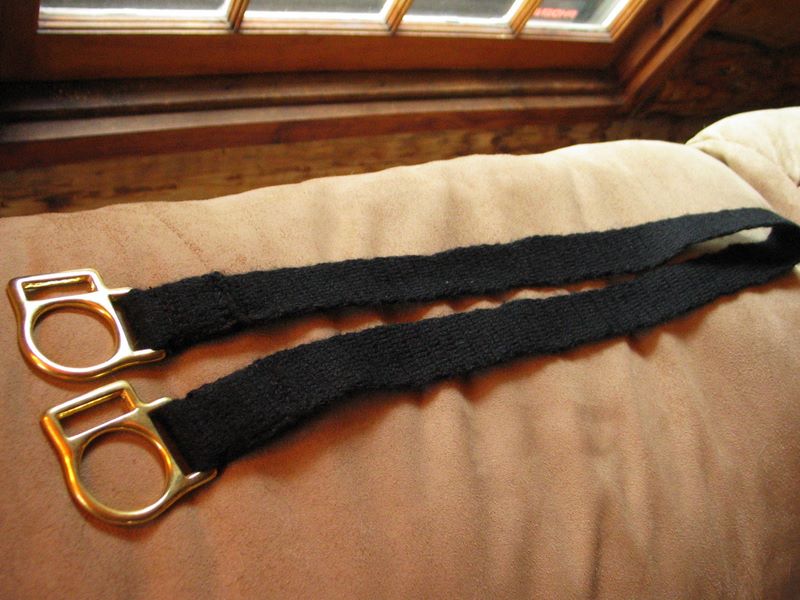
As for the halter, I’ve weaved a 1” wide strap made from a 3 ply sport weight alpaca/wool blend yarn.  I hand sewed the strap to halter hardware and will eventually ad the “bling” trim.  The trim is a metallic blue/gold color to match the colors of the customer’s farm.   Photos are of the halter crown and with the trim laid out over the crown to get an idea of the finished product.  


Stay tuned for more posts as I continue on with this project and to see the end result.

As always be sure to check out Alpaca Farm Girl’s Fiber Arts Friday for other projects.

Adding Zinc to Your Alpaca’s Diet:

There are several articles out there about zinc deficiencies in alpacas.  Some make a big deal out of it while others say that hardly any alpacas have an issue with low zinc levels.   Some say some skin problems or the lack of hair on the nose of a black alpaca can be attributed to a zinc deficiency while others state it’s itching and flies or mites.

I’m not here to give medical advice but would like to let you know what method I use to make sure my alpacas have a low dose of zinc in their diets.  Better yet, it’s probably the cheapest supplement program you’ll hear of I’m sure.

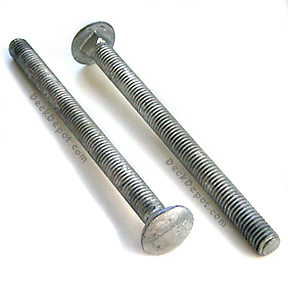
What’s my solution? I use Galvanized Carriage Bolts.  A Galvanized bolt has a zinc coating and when submerged, the zinc slowly dilutes into the water.    I like this method because all alpacas will drink water so you’re sure they are getting a low zinc dose with it. 

I use (2) ½” carriage bolts per 5 gallons.  Depending on how often you have to fill/change your water, the bolts should last 6 months to a year.  You’ll know when it’s time to change out your bolts because the zinc coating on them will no longer be visible.

Chive Flower Vinegar


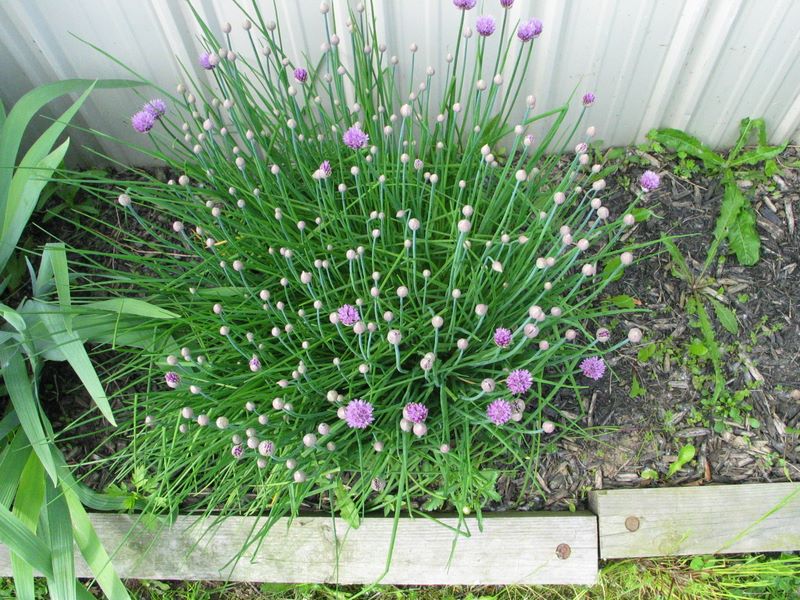
Chives are a common herb in many recopies but I bet you’ve never thought of using the flowers!  Chive Flower Vinegar is by far one of my favorite recopies.   It tastes fantastic on salads without the need to add oils or other flavors.  Of course eliminating oil from a dressing makes it that much healthier.

Directions:

1.       You need a chive plant with flowers on it.

2.       Pick the fully open flowers

3.       The more stem you leave on the stronger the flavor.  I leave on about ¼” of stem

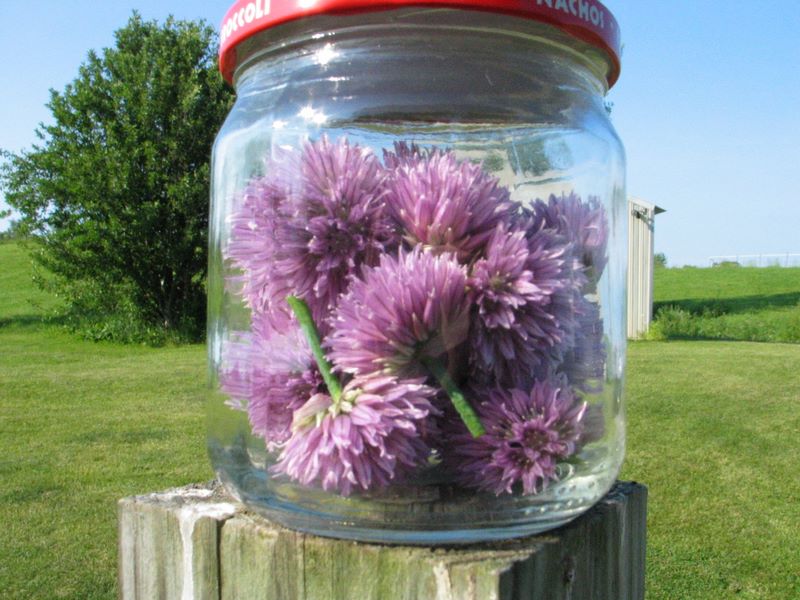
4.       Pack a wide mouth glass jar with your flowers (use glass not plastic)

5.       Fill jar with your choice of white vinegar to the top and cover with lid

6.       Let rest for 1 week.

7.       Remove old flowers and fill with fresh picked

8.       Let rest for 1 week.

9.       Strain

10.   Put finished vinegar in glass bottle.

Your finished vinegar will have a nice chive taste and a beautiful lilac color of the flowers, enjoy!

Note: Pick flowers early and often and the next year you’ll even have more flowers!

Hay Season (Part 2)

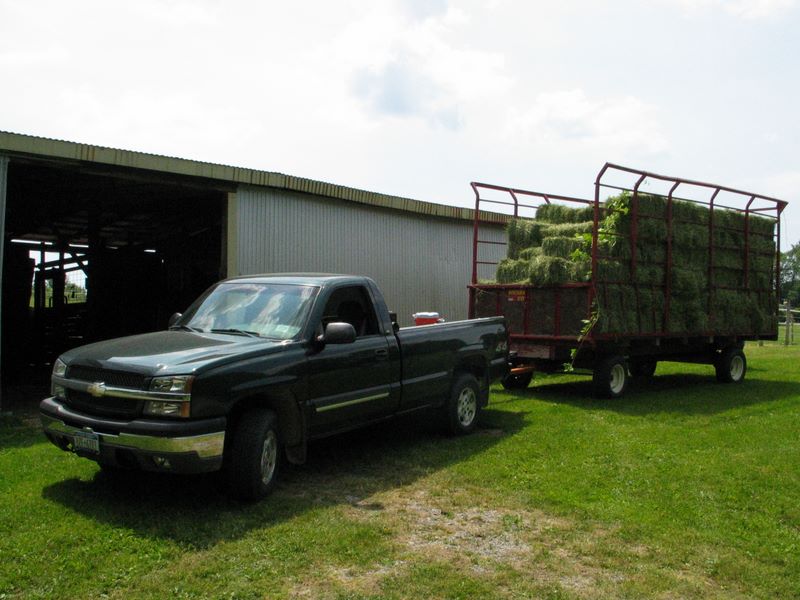
We have all our hay!  This year we found a new hay farmer just a few miles from our ranch.  He has a beautiful 8 acres of timothy/alfalfa mix that was just planted last year and this was the first cut on the field.  What beautiful hay. Young, green, leafy and so sweet smelling.  He got 398 bales (30-40lbs) off the field and be bought them all.

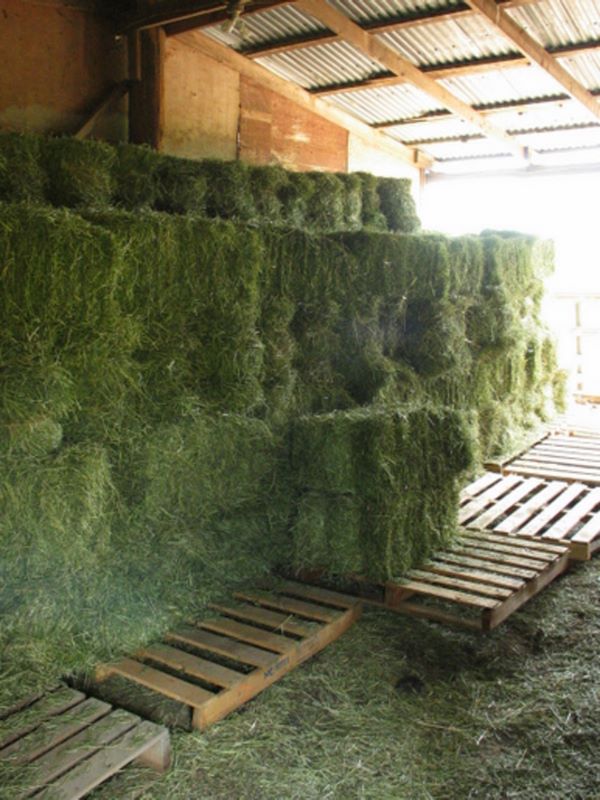
The farmer had 2 wagons so we’d take one as they kicked up bales to the 2nd.  It’s a slow go on hilly roads with full wagon.   But 3 trips and some fancy packing all the hay is in without so much as an inch to spare!  The bales are stacked within foot of the ceiling and I can barely make it through the door. Thankfully my barn breathes very well and there is good air circulation up and over and under the stack. 


1st hay wagon


1st wagon unloaded, 157 bales in the barn.  There was no point in taking a completed photo because it was just a dark wall of hay.  We managed to fit 398 bales in there. 

 Note: Timothy hay is not recommended for alpacas.  It tends to be stalky if cut too late and can give alpacas ulsers.  This hayis for the horses however it is young and leafy enough that the alpaces do like it too.  I will be purchasing  a 2nd cut orchard grass mix for the alpaca’s main diet.