Labor Day 2010 – Too much work

Here we are at another labor day on the farm and another year of projects too big for the weekend.

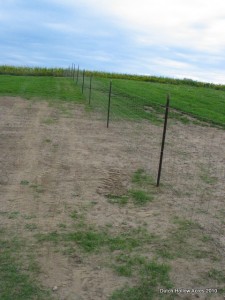
Project 1 was planned.  One of our alpacas constantly got through the strand fencing and went on walk-about.  So, I decided to rip out all the old fence and install field fencing.  Sounds simple.  Yeah 2 solid days and I’m still not finished. 

Taking out the old fence was no problem.  With the help of a tractor invention removal of the old T-posts was a snap.  Pounding in the new T-posts….. PROBLEM!   We live in the land of drumlins (aka Glacial Poop).  Some areas are soft, loamy and easy to pound posts in.  Other areas might be solid gravel or clay. 

The top line of posts went in easy, about 15-25 pounds per post.  As I turned to go down the hill the soil I was pounding in drastically changed to and evil dry hard clay.  My 20 pounds per post was replaced with 60-100 pounds. Yes I count.  When you are doing nothing but pounding posts, you can’t help but count especially when you do them in sets of 10.  A full day of pounding posts and that’s all I did.  My shoulders screamed at me the first night.

Day 2 and up goes the fence.  It seems like such an easy and fast task but 8 hours of work and I’m still not done.  The fence was rolled out.  Secured on one end and a fence stretcher with 2 come-alongs to the other end the idea is to just tighten, stand up the fence and tie her down.  The steps are not complicated but the time for each is drawn out.  Blah. 

The fence is up and 2 t-post clips are secured to each T-post but there’s many many many more t-post clips to do per post. 
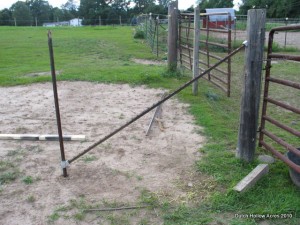
Using Wedge-Loc to brace the end posts.
New alpaca field fence is up!

 ********************************************************************

Project 2 was NOT planned.  The mini job: to dig down and ‘T’ off a water line and put in a new hydrant and power to the new run-in shed for the alpaca boys.  Really this wasn’t supposed to be a big task, the shed is within 15 feet of where the utilities are. 

Problem, as M. dug down and found the water and power he discovered a mess.  The previous owners who ran the utilities 1) didn’t do it to code 2)didn’t put the power in conduit and 3) used indoor plumbing PVC for and outdoor run and it disintegrated when M. found it.

*sigh* so my helper for the fencing now had his own long weekend project digging up the old utilities and having to do them correctly with 2 conduits for power/coax/Ethernet and another line for the water. 

Digging was slow as he could only dig down so far with the backhoe and then hand dig the rest so as not to destroy the power cables. It was bad enough we lost water to the one barn losing power would definitely put a damper on things.

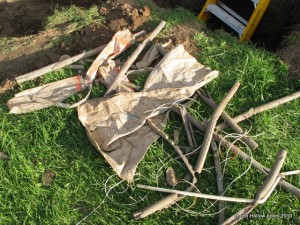
Another fun finding while tackling this project is how thoughtless the folks were who installed initially.  I think their mentality was something like…. “Oh look, hole.  I can throw garbage into that.”  Errrr. 

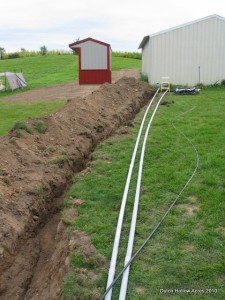
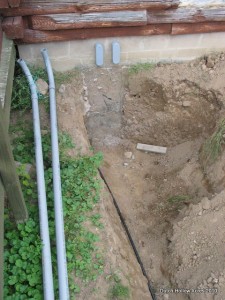
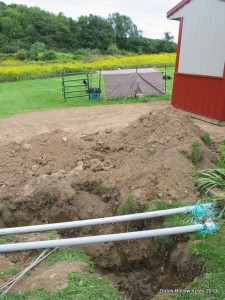
Well that project is about 2/3rds the way done.  Trench is complete, new conduit is glued together, water pipe in and M. put in proper junction boxes at the house.  He also ran pull string in the conduit to make it easier pulling cables through later.  All that is left is to put in all the elbows, clean out the bottom of the trench, lay all the conduit and pipe and cover the hole back up.
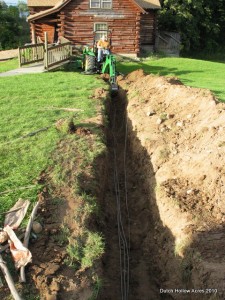
Using the backhoe to dig out the trench. Careful not to hit the live electric lines!
Yup, that's garbage we found in the trench.
New grey utility conduit with back water pipe
New juction boxes, grey conduit on left back water pipe in trench
All this work just because we wanted to get power/water to the alpac barn 15 feet away.

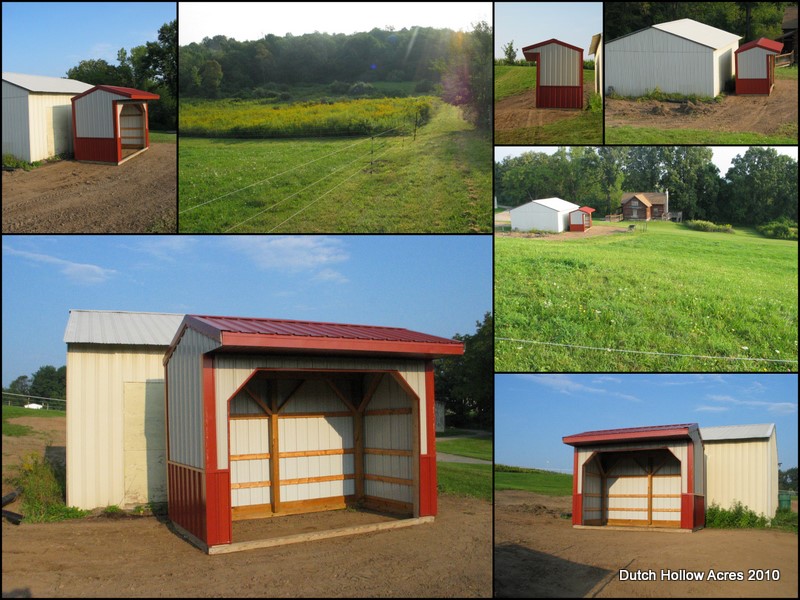
New Alpaca Run-In Shed/Barn

The sight was cleared in time with just 2 days to spare.  I got a call last night that our new shed was on it’s way up from PA and scheduled to be delivered at 8am Tuesday morning.  Here is is 8:29am and I’m already writing to say I have my shed!  It still needs some pushing around to get it exactly where I wanted it and lined up but it’s here!

I got my shed from a young Amish guy named Sam.  Really really nice guy who had a lot of questions about alpacas.  Anyway here’s his contact information if you are in the market for a shed or full size barn.  He and his crew cover all of NY and PA and can build anything from this little shed to Montior style barns.  I’m keeping his card for when I need a new barn 🙂

SSR Contracting
84 Billman Lane
Mill Hall, PA 17751
Wood and Steel Construction

Sam Stolzfus
Phone:  814-280-7099
Fax:  814-625-0010

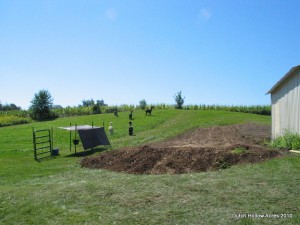
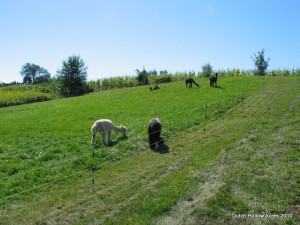
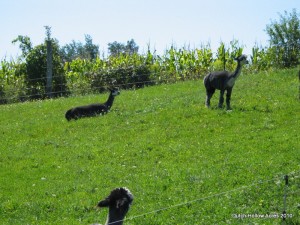
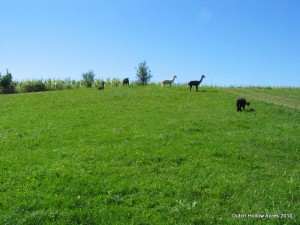
Photos of our new shed with a few of the views the alpaca boys have from the top of the new pasture.  I can see why they like it up here soo much.

Alpaca Boys New Home

This weekend has been spent working on the alpaca boys new home. Right now I have temporary fence and a redneck shelter for them to use.

M. has been working on leveling the new area where the amish will put the new run-in shed. Since there isn’t so much as 1 area on the property that is level he’s been having to bring in lots of dirt. It’s still a work in progress but he’s doing a great job of making sure the rain water will run away from both the run-in and his workshop.

I’m so glad to have the boys at this new site. Finally the horses no longer have to do a 50/50 time share on their big pasture.   The alpacas are loving the big hill.  This used to be our sledding hill it’s that steep.  They enjoy running full speed up to the top and survey their surroundings. 


Just Another Day

One in a million shot?

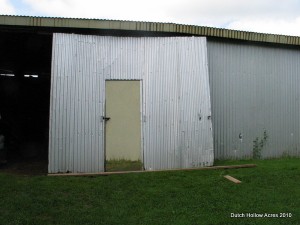
In what can only be described as a calamity, one of the most unlikely things happened this morning.  I was planning on taking one of the young horses for a walk and was getting her ready.  The flies have been nasty with all this warm wet weather we’ve been having so I sprayed down a ear bonnet with fly spray and placed it on her head and then holding on to her lead rope I proceeded to spray her down.

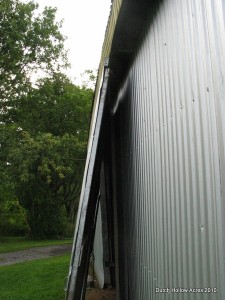
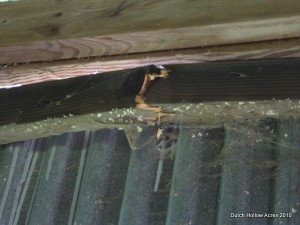
This is when the trouble began; she spooked at the spray, flung her head to the side and somehow managed to hook her halter on a carabineer that was on the large sliding door the barn.  Of course now she’s attached to the door and started running backwards taking the barn door with her.  She managed to take the door of f its track and break the top board in the process.  Thankfully the carabineer was attached to the door with jute twine which broke and released her from the door. 

Apparently the event wasn’t too scary because once freed she immediately stopped and started eating grass, carabineer still snapped to her halter.  *sigh* Looks like I’ve got some repair work to do this weekend.  At least the door is open enough that I can still walk horses in/out of it and get a wheelbarrow through.  I also found a replacement board in my hay storage area that is a perfect replacement for the broken board. 

The hard part will be taking a door that big off and even harder is getting it back on the track!

Shredded Straw Bedding

Recently we purchased a Wallenstein BXM Chipper Shredder to help with chipping all the trees and scrub brush we took down in our soon to be new orchard area. When considering buying a chipper we thought about going all out and getting the shredder to see if we could make our own livestock bedding.

If you’ve read my past posts about my experiences with different types of bedding you’ll know my distain for straw. I just hate picking through traditional straw bedding.  The waste is just awful, it takes me much longer to muck a stall and once I get it out to the manure pile it takes forever and a day to compost.  The price of straw vs. the wood pellet bedding I’m using now is night and day and right now I need to bring down the cost of doing business.

In comes the shredder.  I’ve read about how shredded straw composts faster and is used at some dairy farms and also by mushroom farmers.  So I decided to give it a try.  I purchased a 500lb bale of straw for $40 and fired up the shredder.  We aimed the shoot into our little red TSC dump trailer, stood up wind from the shredding and let her rip.  3.5 of the big flakes of straw filled the dump trailer really quickly and  it filled one of our 11×11 stalls.  1 trailer full gave a great 4-6” deep bedding and covered the whole stall evenly.  For comparison 4 ($7) bags of wood pellets gave me the same results.  That’s $28 for pellets vs $8 for shredded straw. At this point I have a really big smile on my face.

With pellet bedding I have to add 1-2 bags per week for a stall with a mare and foal.  There’s very little waste and I only have to take out the soiled areas.  I know from past experience that with traditional straw bedding 3 flakes of straw would give me nice bedding but I had to strip the bed every day and add another 3 flakes.  How would the shredded straw do?

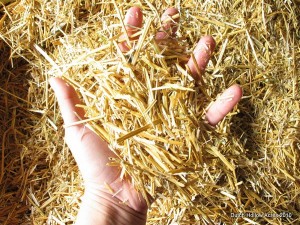
Shredding the straw brought down the stalk size to 2-3 inches in length and even broke the stalk open so it no longer was a tube.  The result is a very light fluffy bedding that sifts right through my favorite Dura stall fork just like wood shavings would.  It doesn’t fall though like pellet bedding but with a few shakes of the fork the horse apples remain and the clean bedding falls through.  Pee areas are sucked up nicely and are easy to spot and scoop up with minimal waste.  I managed to pick through 3 stalls using just 1 wheelbarrow! Try that with traditional straw bedding!

Handful of Shredded Straw Bedding