Fiber Arts Friday – Tour de Fleece 1

This is going to be a great month for Fiber Arts Fans!  I’m participating with the Team of Wonder for the Tour de Fleece which is a big change up for me.  Usually I like to do something a little different each week but now I’m concentrating on spinning for the full Tour de France.  Currently it’s just me and my trusty drop spindles but I’m enjoying every bit of it so far!

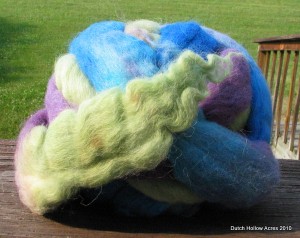
I purchased a Spinolution’s Echo Wheel from Tomorrow Farm and am patiently waiting for it to be hand built and shipped to moi!  Speaking of Tomorrow Farm I just got a lovely package from them last night!  A  bar of great smelling handmade soap and a colorful hand painted 100% alpaca roving to use on my new wheel when it arrives!  Thank You!

Tomorrow Farm's Handpainted Roving

Ok on to photos of this week’s worth of spinning.

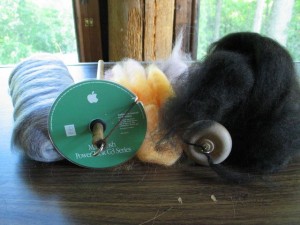
Spindles and Fiber
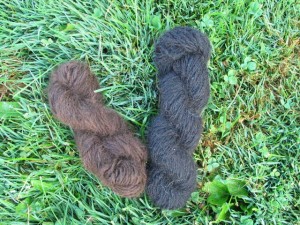
Brown and Black Alpaca Skeins
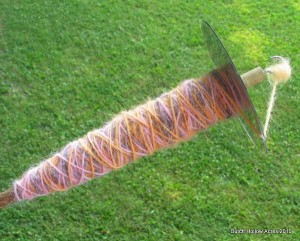
Purple, Pink, Orage Alpaca on my spindle now.

Fiber Arts Friday – Crochet Cotton

Welcome back Fiber Arts Friday followers!

This week was crochet cotton week.  I picked some up on sale and decided to play around with it and here are the 2 projects I’ve been playing with.

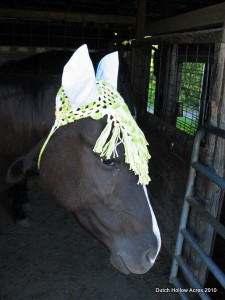
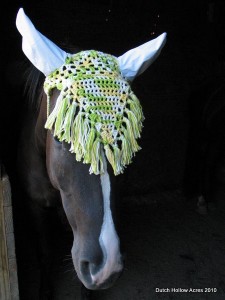
In the past I’ve told you about the crochet horse fly bonnets my mother-in-law makes and again I tried my hand at making my own.  I still don’t quite have it right so there’ll be a few more failed attempts to show you along the way I’m sure. I don’t think my model horse Fay liked the crochet ears much either.  Just look at that face.

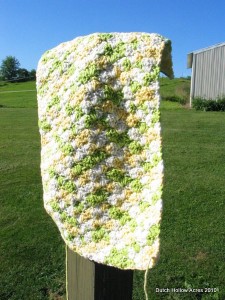
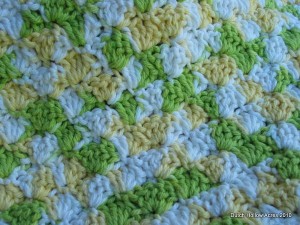
My next project was my very first dish cloth.  Yes surpisingly I have never made one.  I think normally most people start learning to crochet by making one but not me.  My first crochet project ever was a huge afghan.  Darn thing took me 7 months to finish.  Ok I’m off track again. Tada! I present you lemon and lime dish cloth.  My hubby hates it, says it’s too 70’s looking so it’ll probably go to someone who will appreciate it more. 

The pattern I used can be found HERE.

Lastly tomorrow starts Tour de Fleece!  I just got my roving from Wonder Why Gal’s shop and can’t wait to spin every day for almost a month!

Fiber Arts Friday – Knitting Loom War

Welcome Fiber Arts Friday visitors.

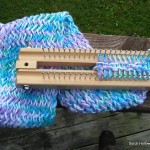
So my project this week was learning to use a knitting board or a knitting loom.  It turns out I really hate this thing.  Everything I’ve read and watched showed this to be a simple tool for people who can’t knit.  (Even kids can use it they boast) Yeah well I must be a slow learner when it comes to simple tools.

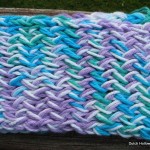
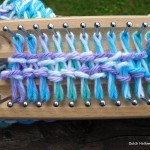
The concept was simple.  Wrap the loom and hook over the thread, wrap again and hook.  Easy as pie.  Heck no.  I started my scarf 8 times before I was mildly happy with the cast on and first few rows.  For the life of me I cannot get the first few rows to hold tension and the stitches are so loose.  About 5-6 rows in the stitches look much better and are more consistent.

Thankfully with creative photography my work looks brilliant!  I’m going to give this trinket a few more tries before I decide to totally trash it.

Fiber Arts Friday – Alpaca Fur Blanket

Hello Fiber Arts Friday followers!

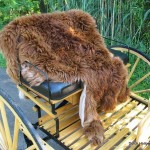
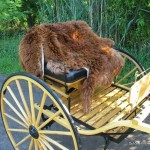
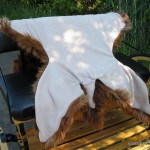
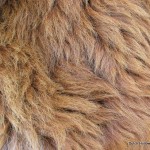
A while back I told you about the unfortunate passing of my alpaca Miracle.  We ended up processing her hide and sent it off to be tanned and made into a lap robe.  Well the good news is our Miracle Blanket is finished!  I picked it up from Sivko Furs, Inc on Sunday and have had a full week to enjoy it.

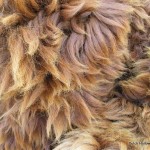
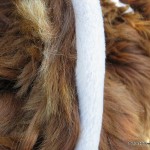
Sivko Furs did an awesome job!  I’m thrilled with the outcome.  The fur is held tightly to the hide and has been brushed clean and is so soft.  Their seamstress did a beautiful job sewing on a soft beige color fleece.  She managed to hide the seam for the majority of the blanket and only a small area at the neck shows her stitching where she had to turn the blanket inside out.

Per my asking she trimmed some of the neck off  A) so we didn’t have a seam in the fleece backing and B) so I had a piece of fur hide to keep and play with for my own projects.  They also included all the other little scraps of hide they trimmed off while making the finished blanket.  Maybe in future FAF posts I’ll show you what I plan on doing with them all.

The look and feel of this blanket really made me think of the old carriage lap robes used to stay warm with on cold winter nights.  Actually the authenticity of such a lap robe isn’t too farfetched.  Did you know in the late 1800’s alpaca was more popular in the US than sheep’s wool?  Unfortunately it was a short lived industry since the quantity needed to keep up with demand wasn’t there and sheep ended up taking over as a preferred fiber.  Check out my post on Alpaca, Fiber of the Presidents for more info.

If any of you who end up in the same situation as I did be sure to read my post on preserving your alpaca hide and I highly recommend the kind folks at Sivko Furs who had a great turnaround time and a very fair price for processing our Miracle.

Fiber Arts Friday – Flannel Blanket Pattern

Welcome back Fiber Arts Friday visitors!

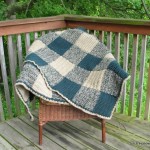
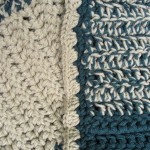
I finished my mom’s blanket!  It’s already been washed, and is wrapped and waiting for later this month so I can give it to her.  Too bad it’s the start of summer, she might not get to enjoy it until much later since it’s such a thick blanket. 

A friend of mine really liked the blanket and asked for one so that means I actually have to duplicate it!  Yikes.  So, I wrote down the pattern for myself which means I have a pattern to share with all of you!

Country Flannel Blanket Pattern (PDF) – Printer friendly

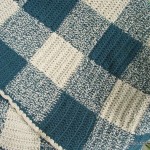
This blanket is made in strips each strip containing (10) 7×7 inch squares and 6 strips total. Finished blanket size will be 6×4 feet. The strips are made by using 2 strands of yarn at once.  It is a very thick and heavy blanket (6lbs) and it works up very fast.  I crochet slowly and the blanket only took me 15 working hours to finish to give you an idea of how fast it goes.

Materials:
(3) Caron One Pound Yarn – Taupe
(3) Caron One Pound Yarn – Forest Green
Size ‘N’ Hook
Size ‘K’ Hook
Darning needle

Strips 1, 3, & 5

Square 1
Row 1 – Using 2 strands of forest green chain a row of 18 with the N hook
Row 2 – DC in 2nd stitch from hook, DC in each stitch to the end, CH 2 and turn (16) Length should measure 7” add/dec stitches if needed
Row 3-? – DC in each stitch to the end of the row, CH 2 and turn (End your square when it measures 7×7 inches)
Last row of square – do not CH2 and cut a 5″ tail off one of your green yarn
(Note: with the exception of the start of the 1st row of the strip, all of your tails will end on the same side of the strip)

Square 2
Row 1
– tie in taupe yarn leave a tail to darn in later – CH2 – DC in each stitch to end of row, CH2 and turn
Row 2-? – DC in each stitch to the end of the row, CH 2 and turn (End your square when it measures 7×7 inches)
Last row of square – do not CH2 and cut a 5″ tail off one of your taupe yarn

Square 3-10
Repeat Square 2 alternating with 2 green and 1 green 1 taupe until all 10 squares are complete

Strips 2, 4, & 6
Follow same instructions above but alternate using 2 taupe and 1 taupe and one green

Darn all your tails into your work and whip stitch the strips together.  Take care to line up the squares and check as you go.  I had the misfortune of finishing a row and then held it up just miss an alignment half way through the row! Errrr…

Boarder:
Still using the ‘N’ hook but using only 1 strand of green yarn SC all the way around the blanket 2x, Add a SC in each corner so they remain square

Switch to the ‘K’ hook and 1 strand of taupe yarn
Tie your yarn in, Skip a stitch and DC 4x in the next stitch, skip a stitch and repeat 4 DC all the way around the blanket.  This boarder is meant to add a very slight ruffle to the edge and soften up the look of all those squares.