How To Make A Rag Rug (Toothbrush Rug)

Welcome Fiber Arts Friday Fans with WonderyWhyGal

Rag rugs are a blast to make and do not require any fancy techniques like crocheting.  The rugs are fairly quick to make and you can see the results of your efforts take shape in just a few rows.  This technique is not limited to rugs, you can also make other items like a rag placemat, dog bed, cat bed, bedspread, basket, or anything else you can think of.  These rugs can be great kids projects too since it involves fun things like ripping of fabric.

Making a Rug Tool:
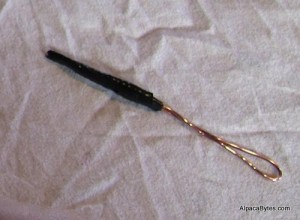
Rag rugs are often called Toothbrush rugs because of the type of tool used to make them.  Folks used to cut the head off an old toothbrush and file it down to a point while using the pre-drilled hole (for hanging your tooth brush) as a place to attach the fabric to.  Today, there are fancy prefabricated tools you can use or you can still make your own.  Technically a rug tool is just a really big needle.

I’m cheap so I chose to make my rug tool out of scraps I found in the basement.  My needle is made out of scrap copper wire and electrical tape.  It might not be pretty but who cares, it’s free.

Making Fabric Strips:
For my rug project I decided to repurpose some old flannel sheets.  I cut a little slits along one edge of the sheet every ½ inch or so.  Now comes the fun part!  Grab that little fabric tag and rip!  The flannel sheets tore very evenly right down to the end without the need to cut each strip out by hand.  If you have a cat hanging around this process is very fascinating and you might have to fight for some of your strips back.

How To Connect Fabric Strips:
Now that you have all of these strips hanging around you need to be able to put them together.  Many suggestions have you sewing the strips together, which is great, if you have that kind of time to waste.  Easiest method I found is to cut a small slit in the ends of each strip and slipknot them together.  Thread one strip through the slit you made in the other and then feed the tail of the 1st strip through the slit you made in the end.  Pull tight and voila you have connected the 2 strips together.


Starting Your 1st Row:
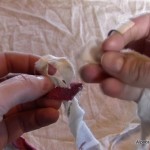
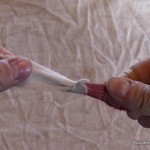
These directions are for a rectangular rug.  I will cover oval rugs and circle rugs on another post. Start your rug at the connecting slipknot where your 2 fabric strips meet.  1 of these strips will be the “core” the other will be used to tie the knots.  I’m right handed so find it easier to hold my strips in my left hand and use my rug tool in my right.  In the photos the light colored fabric is the “core” and the red is what I’ll be tying knots with.

–       First cross the red over the white so it looks like the number “4”
–       Feed the tail of the red behind the white and through the loop hole  in the “4”
–       Pull the red all the way through and make your first knot. Keep this first row  fairly taught but not so tight that you won’t be able to get your tool through again later
–       Make sure your “core” fabric stays straight and doesn’t get curled up into your knots
–       Continue knotting until you achieve the width of the rug that you want
–       Row 1 can be a bit of a pain.  You may find it easier to use a safety pin to secure it to something.  I usually like to stand up and place the first knot on a hook and knot my first row from there.

Starting Row 2 – ?
Again, these directions are for a rectangular rug.  This is the easier of the rug patterns to make and does not require any extra stitches per row. The length of your first row is the width of your rug.  How many rows you add on from this point determines the length of your rug.

–       When you’re ready to start your next row, fold your “core” fabric over so it is now playing alongside your row of knots.
–       With your rug tool stab the center of the last knot you had just made
–       Make sure you still go behind the “core” fabric before you come through the loop

Changing colors:

Solid color rugs are no fun of course you want to change colors.  When you get to a point you want a new color just cut the fabric off, cut a new slit in the end that is part of your rug and tie in your new color.

 Video of all the steps described above!  In HD!
Crochet Kitty Koozie – Cat Bed


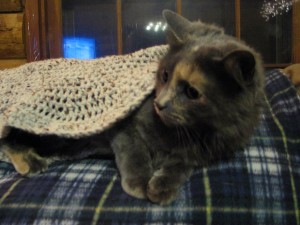
Well we don’t call it a Kitty Koozie to us it’s a Bacon Wrap.  Yes, I named my cat Bacon, I can’t say I’m a cat lover so I named it after something I do love.  Mmmm…. Bacon.

So what is it?   Out of scrap yarn I crocheted little pocket for our Bacon to hide in.  I doubled up on the yarn for the bottom and single crochet a mat so it offers a thick pad.  For the pocket top I switched to single yarn and a double crochet.  This makes the top part light enough that she can dig into it and has stretch so it’ll fit her body snugly. 

The result is a perfect hiding spot for a cold kitty.

Don’t forget to see other Fiber Arts Friday stuff at Alpaca Farm Girl.

BaconWrap

Crochet Horse Ear Bonnet

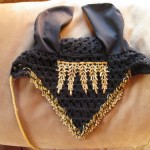
My mother-in-law is the one who really got me into crocheting and interesting in working with yarns.  One of the first projects she worked on for me was custom made ear bonnets for my horses.  They turned out to be beautiful works of art that get tons of attention any time I dress my horses up in them.

To those of you who don’t know what these crochet ears for horses are they are to keep flies out of their ears and the fringe keep the flies away from their eyes. 

Materials alone to make the beaded bonnet came out to $40!  Now that’s some serious equine bling!  Best of all they match my barn colors perfectly. 

 crochet1cotton_drive_32

 Don’t forget to check out other fiber projects on Alpaca Farm Girls Fiber Arts Friday!


================================
11/17/09
Thought I’d share with you a sneak peak of the bonnets my mother-in-law has been working on.  Each is hand crocheted, hand beaded, hand sewn works of art.  She has made them in almost every color of the rainbow with different accents and bead styles.  I’ll be sure to keep this post updated if she puts them up for sale.
img_5833
================================
11/18/09
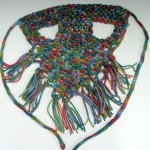
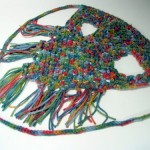
Here’s photos of the test one I’ve been working on.  It’s scrap yarn I had hanging around but I really like the colors.  I’m going to see what fabric I can find that’ll match for the ears today.  Maybe dark green or blue.  I’m still not happy with the pattern I used.  I’m going to try some different things before I make a pattern available.
CorchetEarBonnet_1CorchetEarBonnet_2
=================================

How To Felt Beads with Alpaca


This year I bought with me bags of colorful alpaca fiber on our vacation to the Adirondacks after my sister-in-law inquired about making felted beads.   Our adventures in making alpaca felted jewelry turned out to be quite entertaining especially after a few beers or glasses of wine.
 

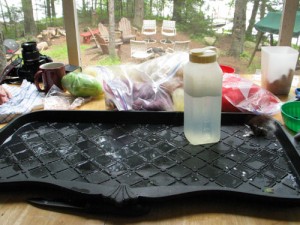
Supplies:
– Dawn Original Dish Soap
– Bottle of hot tap water
– Shoe tray
– Towels
– Carded Fiber

Supplies
Supplies

Method:
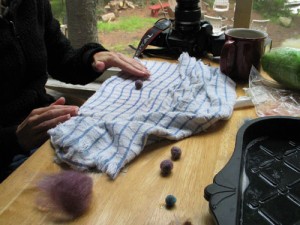
To make beads is very simple.  Pinch off some raw fiber, pour some warm soapy water on it and start gently rubbing in the palm of your hand to form a ball.  (NOTE: learning to felt with wool is easier than alpaca for beginners)

Rolling Beads
Rolling Beads

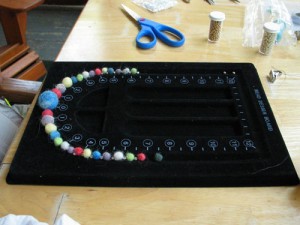
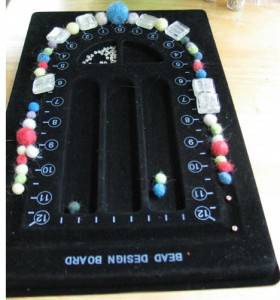
As I had mentioned my sister-in-law makes beaded jewelry and here are some photos of the “Trix” necklace my mom had fun making. 

Trix Necklace
Trix Necklace
Trix Necklace with Bling


Don’t forget to check out Alpaca Farm Girl’s Fiber Art Fridays

How To Dye Alpaca Fiber with Kool-Aid


Probably the easiest, cheapest and least harmful way to dye alpaca fiber is with Kool-aid.  Where else can you get a rainbow of colors for $0.25 a pack!

Solid Color Dye:

1.       Heat a pan of water so that you see steam rising but not so hot it’s boiling

2.       Add your Kool-aid  and stir

a.       The more packets you add the darker the color.  Mix and match kool-aid packet colors and make your own!

3.       Put in your fiber and push down with tongs until fiber is fully submerged

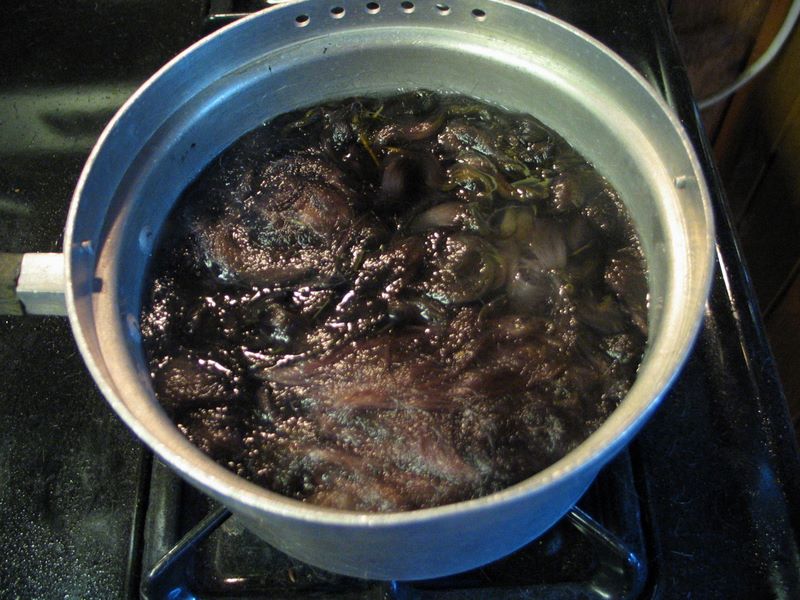
4.       Let simmer for 30 minutes or until water is clear.

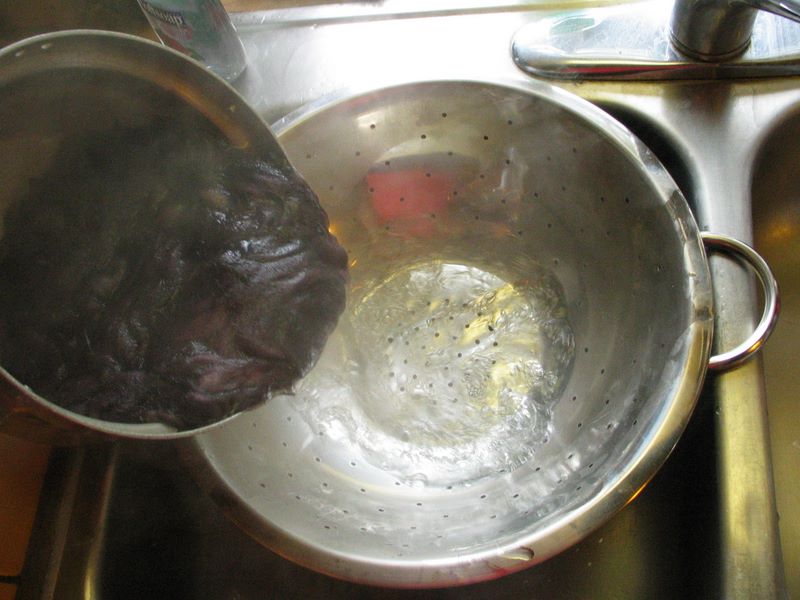
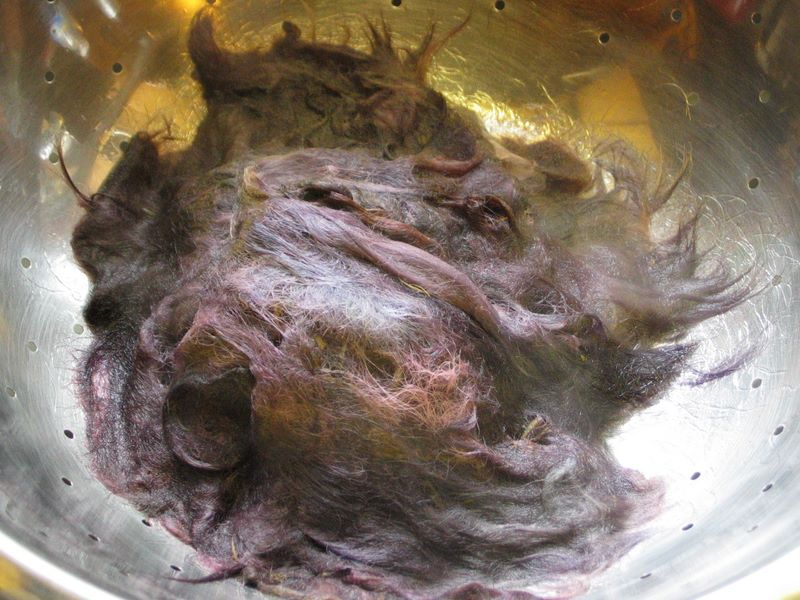
5.       Pour your fiber and water into a colander to drain out the water. Use your tongs to press out extra water but be sure not to agitate the fiber or it will felt. (Note the water that I’m pouring out in the photo is clear)


6.       I dry my fiber on cookie racks next to my dehumidifier in the basement.  You can also use sweater racks or set it out to dry in the sun on a lawn chair or towels

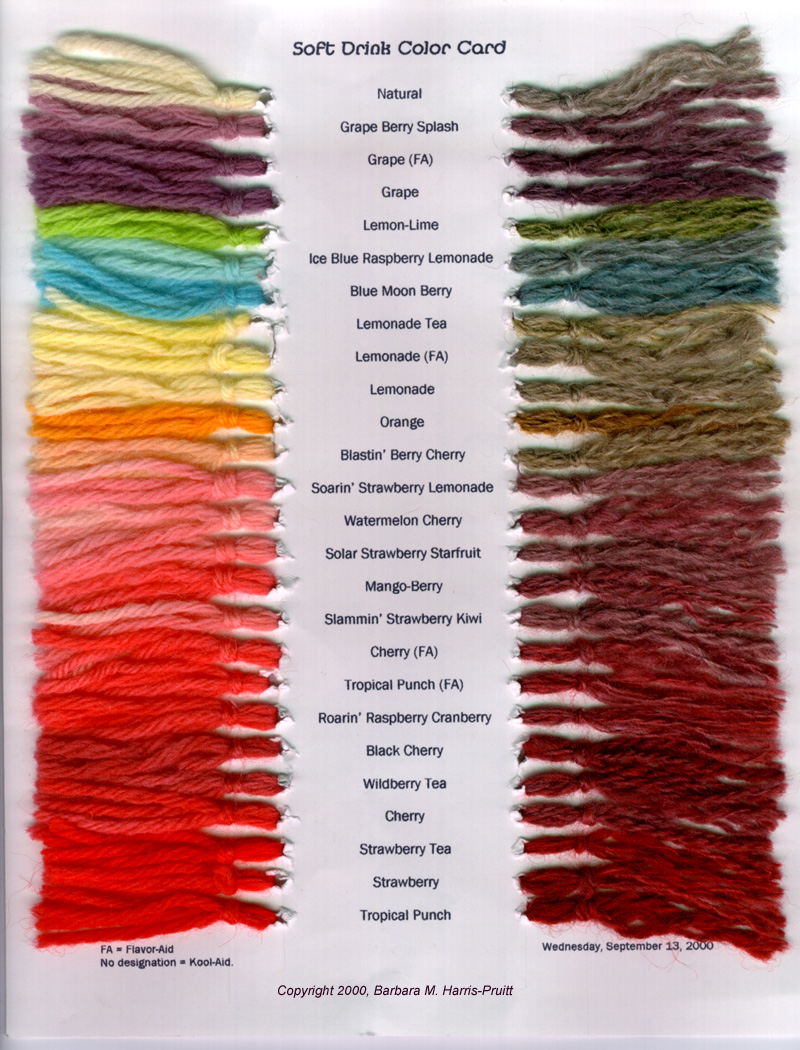
Kool-Aid Dye Color Chart!
Click on color chart for larger image.  Props out to http://www.thepiper.com/ for this great color chart!

colorchart-max